How to get started with astrophotography using your smartphone
- Thomas McCrorie

- Sep 8, 2025
- 5 min read
Updated: Oct 28, 2025
Astrophotography is one of the most fascinating hobbies that allows you to capture the beauty of the night sky. There's an expectation that you need amazing and expensive equipment, but that sometimes isn't the case. With just your smartphone and a few simple techniques, you can take stunning photos of stars, the moon, and even some planets. This short guide will walk you through the basics of astrophotography using your smartphone, helping you unlock the wonders of the cosmos right from your backyard.
Understanding the basics of astrophotography
Before diving into the technical side, it’s important to understand what astrophotography involves. It is the art of photographing celestial objects and phenomena in the night sky; it's a mix of science and art. It;s one thing that makes the hobby quite unique and individual. Unlike regular photography, astrophotography requires longer exposure times to capture faint light from stars other deep sky objects like nebulae and galaxies.
Smartphones have come a long way in camera technology, and many now feature night modes, manual settings, and apps that enhance their night sky imaging capabilities. However, astrophotography still presents challenges such as low light, movement of stars, and the need for stability.
To get started, you'll need to consider the following:
Finding a dark location away from city lights.
Use a tripod or stable surface to keep your phone steady.
Adjust your camera settings for long exposure.
Use apps designed for astrophotography to improve results.
By mastering these basics, you can begin capturing impressive images of the night sky.
Essential tips for smartphone astrophotography
Getting the best results from your smartphone requires some practical tips and tricks. Here are some key recommendations:
1. Choose the right location and time
Light pollution from cities can wash out stars, so find a dark spot such as a park, countryside, or beach. Check the weather forecast to ensure clear skies. The best time for astrophotography is during a new moon or when the moon is not too bright. These apps will help you plan for taking images of deep sky objects.
2. Use a tripod or stable surface
Even the slightest movement can blur your photos during long exposures. Use a tripod designed for smartphones or place your phone on a stable surface. This will keep your phone steady and improve image sharpness.
3. Adjust phone camera settings manually
Many smartphones allow manual control of ISO, shutter speed, and focus. For astrophotography:
Set ISO between 800 and 3200 to capture more light.
Use a shutter speed of 10 to 30 seconds to gather enough light.
Set focus to infinity to keep stars sharp.
If your phone doesn’t support manual settings, use a dedicated astrophotography app.
4. Use the right apps
Apps can enhance your smartphone’s astrophotography capabilities. For example, the NightCap app offers features like long exposure control, star tracking, and image stacking. These tools help you capture clearer and more detailed images.
5. Experiment and practice
Astrophotography is a skill that improves with practice. Try different settings, angles, and compositions. Review your photos and adjust accordingly. Over time, you’ll learn what works best for your phone and location.
How to use your smartphone for astrophotography
Now that you know the basics and tips, here’s a step-by-step guide to taking your first astrophotography shots with your smartphone.
Step 1: Prepare your equipment
Smartphone with a good camera. To be honest most modern day cameras have incredible technology inside of them.
Tripod or stable surface.
Optional: remote shutter or timer to avoid shaking.
Step 2: Find a dark spot
Head to a location with minimal light pollution. Use apps like Light Pollution Map to find suitable spots near you.
Step 3: Set up your phone
Mount your phone on the tripod. Open your camera app or an astrophotography app like the picastro app. Switch to manual mode if available.
Step 4: Adjust Camera Settings
Set ISO to 800-3200.
Set shutter speed to 15-30 seconds.
Focus on infinity.
Turn off the flash.
Step 5: Take the shot
Use a remote shutter or timer to avoid shaking. Take multiple shots to increase your chances of a good photo.
Step 6: Edit your photos
Use photo editing apps to enhance brightness, contrast, and sharpness. Avoid over-editing to keep the natural look of the night sky.
Step 7: Share and learn
Share your photos with online communities or social media. Get feedback and tips to improve your skills. Picastro is a tremendously simple and intuitive way to show off your newest image of our nightskies.
Common challenges and how to overcome them
Astrophotography with a smartphone can be tricky. Here are some common issues and solutions:
Blurry images
Use a tripod or stable surface.
Use a timer or remote shutter.
Ensure focus is set to infinity.
Make sure you have your exposure setting less than 10 seconds. This will help mitigate star trails on your camera phone.
Too much noise
Lower ISO if possible.
Use noise reduction features in editing apps.
Take multiple shots and stack them using apps.
Star trails
Star trails occur when exposure is too long.
Reduce shutter speed to 10-15 seconds.
Use star tracking apps to compensate for Earth’s rotation.
Light pollution
Choose darker locations.
Use apps to find dark sky areas.
Avoid shooting near streetlights or bright buildings.
By understanding these challenges and applying the solutions, you can improve your astrophotography results significantly.
Expanding your astrophotography skills
Once you’ve mastered basic smartphone astrophotography, you can explore more advanced techniques:
Star Trails Photography: Capture the movement of stars by using longer exposures.
Moon Photography: Use zoom lenses or clip-on lenses for detailed moon shots.
Planet Photography: Capture bright planets like Jupiter or Saturn with careful timing.
Image Stacking: Combine multiple images to reduce noise and enhance detail.

Investing in phone accessories like phone attachments, portable power banks, and better tripods can also enhance your experience and help to make yout smartphone astrophotography images even better.
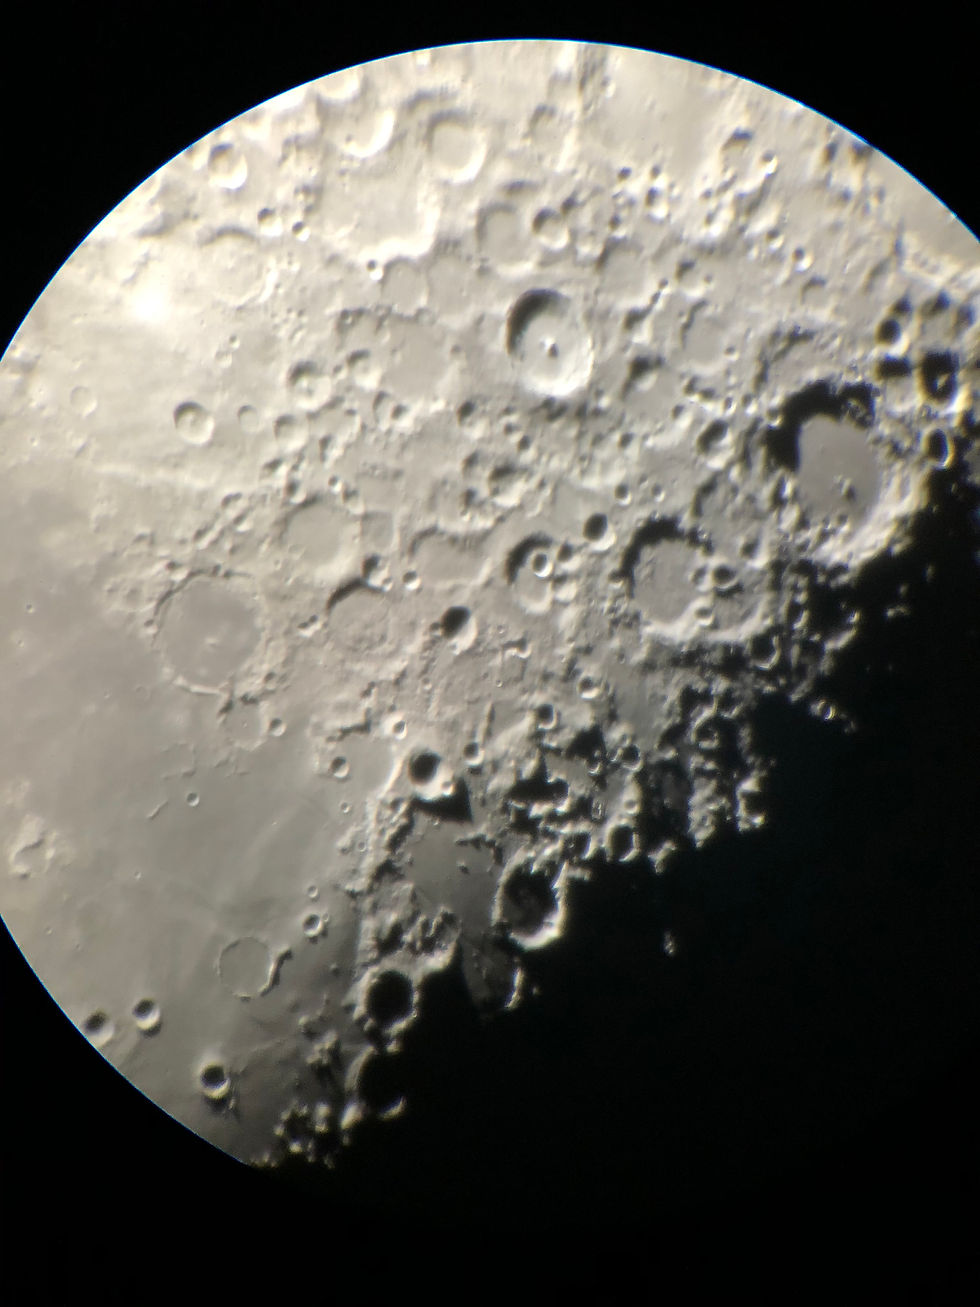
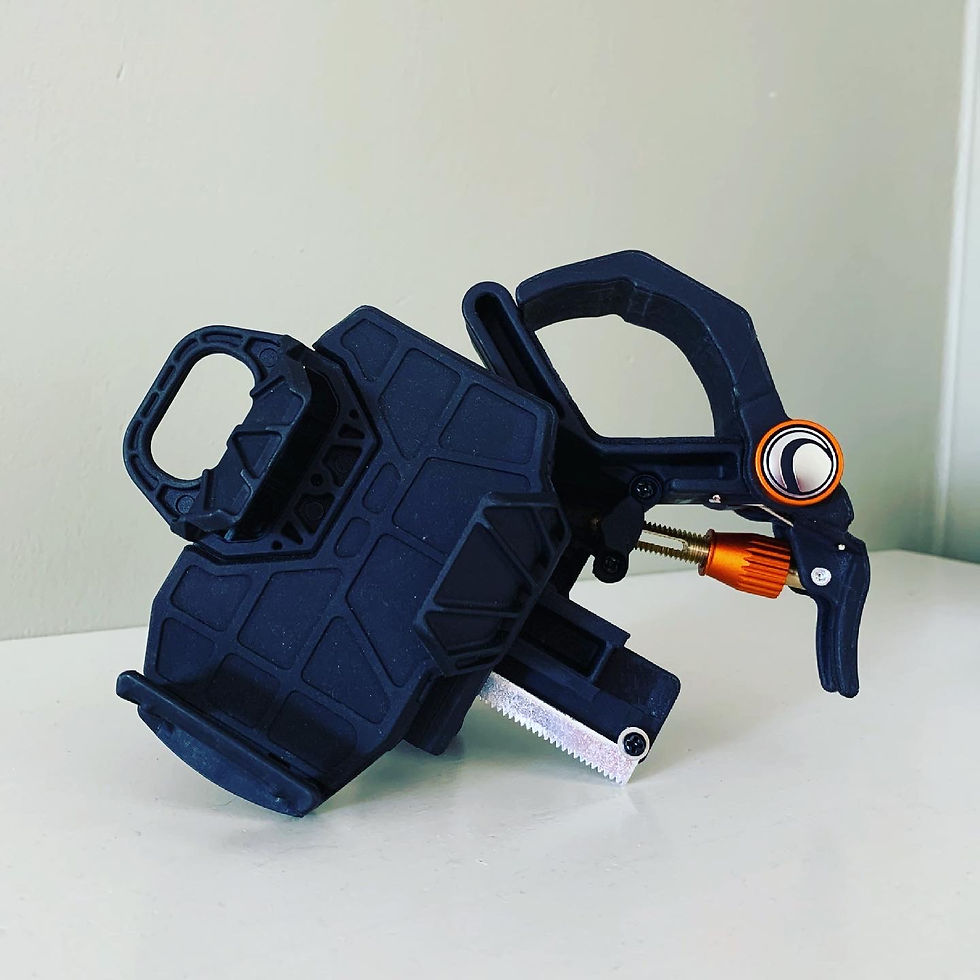
The image above was taken using my smart phone, in this case the iPhone8 attached to my telescope using a special phone attachements called the NEXYZ shown below. My iPhone was also attached to my 10mm Hyperion eyepiece. I miss taking images of the moon.


Astrophotography is a rewarding hobby that combines science, art, and technology. With patience and practice, your smartphone can become a powerful tool to explore the night sky.
Start your astrophotography journey tonight and discover the universe through your smartphone lens. With the right approach and tools, the stars are closer than you think.
The same principles will apply to taking iamages of deep sky objects. Picastro asked Jan Herlyn from Lower Saxony, how he goes about taking his images using his smart phone.
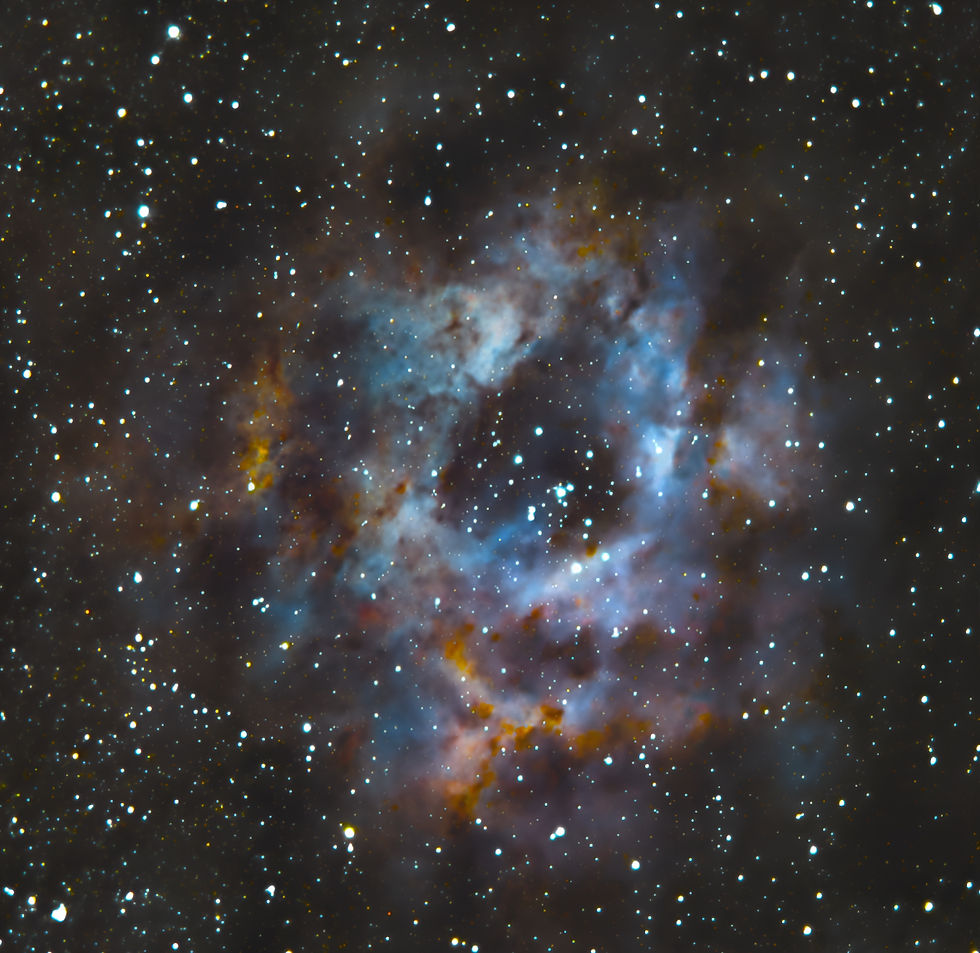
Let's start with his best image to date of the Rosette nebula, taken using his smartphone attached to his telescope and to his eyepeice. This was taken using NO tracking, just Googles astrophotography mode on his Pixel8 cameraphone.
Jan comments that the phone he has, uses Machine learning to detect starts and handles tracking and stacking (even offline)
There is very little processing done on this image as the phones sensor already is picking up the oranges and blues of this wonderful emission nebula.
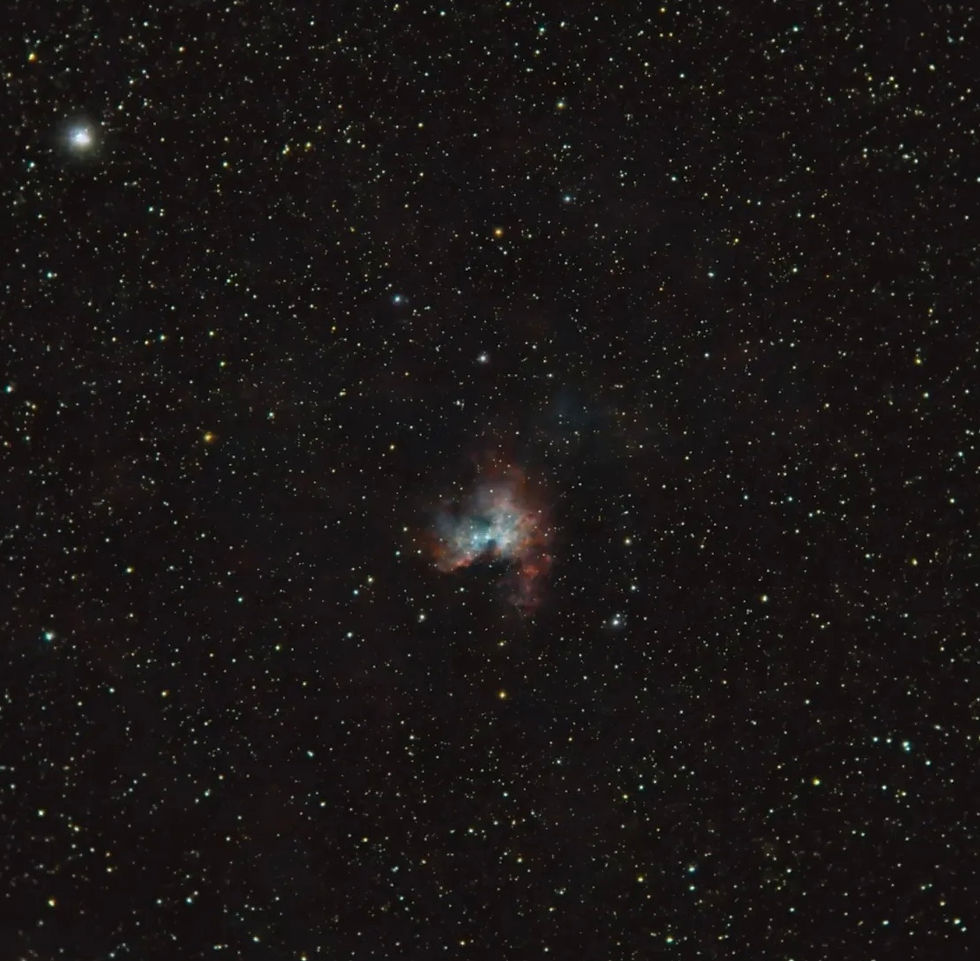
The other image below the rosette is another well known deep sky object called Pac-Man nebula and once again with minimal intervention from other external tracking or guide camera he has managed to image and capture another beautiful object in our night skies.
You can see Jan's profile on Picastro here


We hope you have enjoyed reading the blog article on how to use your smart phone for astrophotography and imaging the moon.

Comments